
By Web Editor Antony Stevens
It’s that time of year again: the season of obligations. You just spent the last three months breaking your metaphysical back
in order to get those papers in on time, and now they expect you to spend your only free time in months Christmas shopping with your ramen-ration money. Forget that—you know how the mall gets this season. Your best bet is to throw 20 bucks into a card, sign your name, and enjoy your winter break under a blanket on your couch.
“But wait,” you say. “How am I supposed to choose between all the different fonts on the Hallmark rack at Save on Foods?
Should my card say “Seasons Greetings” in a cursive gold emboss, or “Happy Holidays” sparkling in an ostentatious red and green colour scheme?”
Never fear, Navigator reader. We’re here to put the power in your hands. In the 30 minutes it would take the bus to get you downtown, or the hour you’d spend deliberating in Wal-Mart, you could be warm at home listening to that sweet new Justin Bieber album making your own cards that are sure to get prime space on your friends’ and family’s mantlepiece until they
remember to take them down. You can even write your name in the space where the Hallmark logo usually goes. “Hand-crafted by [Navigator reader].” Just imagine.

Here’s the plan:
- Cut the construction paper into vaguely rectangular shapes—8.5” x 5.5” is recommended. If you want, you can cut some printer paper at 5” x 4” to write a little personalized message on and paste that inside the card, but your recipient is only
looking inside to see how big your bank account is anyway. - Tear a page of the newspaper into little strips. I won’t be offended if you use this article, but Farida’s Christmas-themed article might be more appropriate.
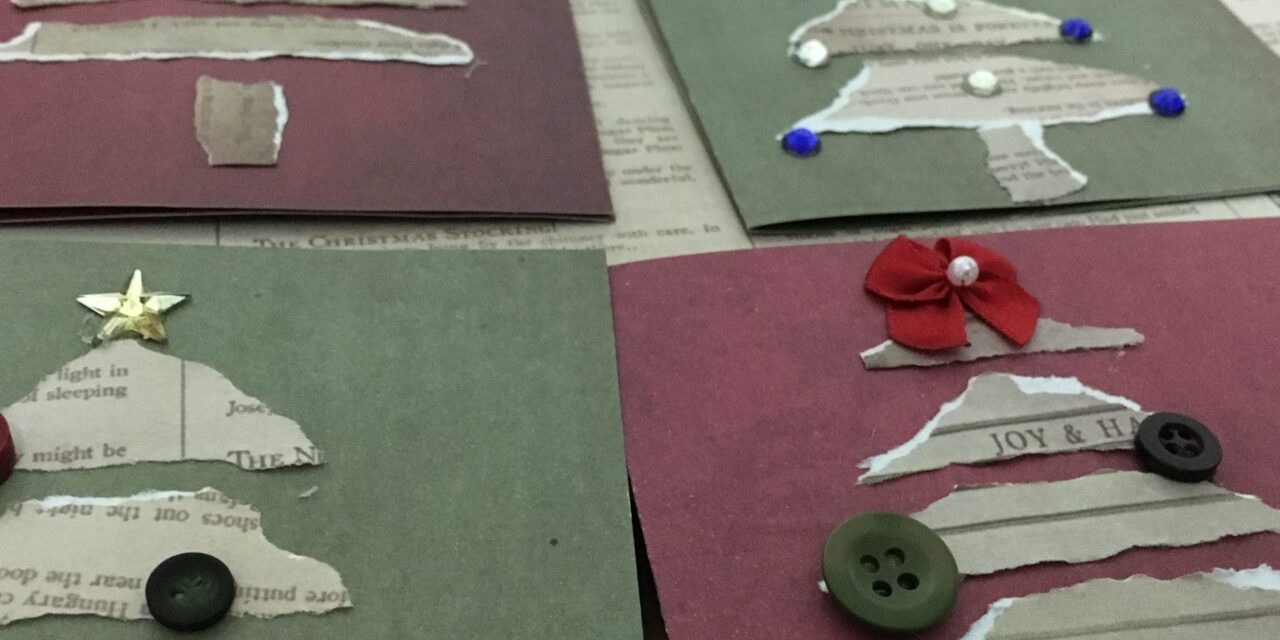
- Arrange the strips into the shape of a tree. The strips should be around an inch thick, with an almost rhombus shape, all at varying lengths. You can defer to figure 1.a as a guide.
- Start gluing and/or taping buttons to the tree at your own discretion. Keep in mind that the number of buttons is in direct correlation to how amazed your recipient will be to see your artistic talents.
- Put your little stars or bows on the top of the tree.
- Admire your work. Sign the back if you want. Maybe buy an envelope or lettermail insurance for peace of mind.
And that’s it; rinse and repeat for however many you want to make. You now have some super sweet greeting cards that may not last on the mantlepiece, but will live eternally in the heart of the holiday season. and maybe in a box in someone’s crawlspace.
If you make one of these cards, or put your own spin on the craft, tweet a picture @TheNav_VIU, or share it with us on Facebook. Happy holidays!

figure 1.a

a look into the dimensions